Thursday, November 30, 2017

Fall 17 Final

Our class final is Tuesday, December 6 at 8:30 am in our usual subterranean den. I'll be there at 8 to help set up!

 
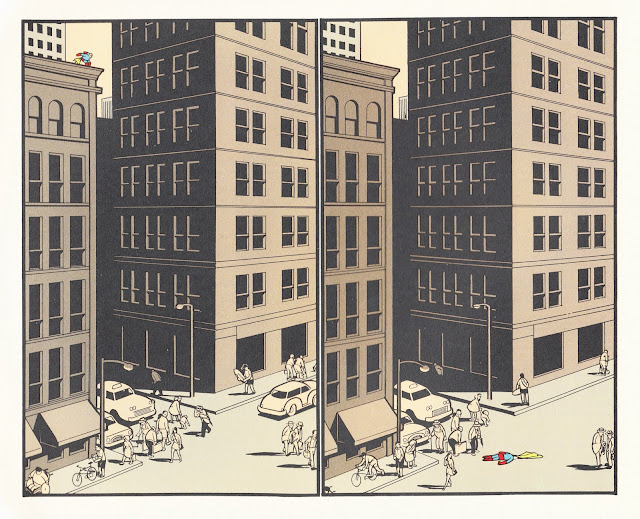
Chris Ware, Jimmy Corrigan, The Smartest Kid on Earth, 2000

Turn-ins for the final:
1. Your build captain will turn in the project build for your team. Get a copy to Matt during quiet week. Turn a copy into the courses dropbox folder as well. Test it and make sure it works! Friday, December 1 is a good day to hook up with Matt in our lab (Good ol' MA 003)

2. Upload the model(s) that YOU made to Sketchfab. Put your link on this URL spreadsheet. I'll make this available so you can keep track of each other's work

3. Write a paragraph or two articulating what you now are able to do and what new experience you gained this quarter. Include images and make it into a pdf. Turn it into the course dropbox - make sure the filename includes your name.

4. Super recommended professional practice: Create a page that details your design/build process and/or your team's design/build process. Include super groovy screen shots and imagery.

Thursday, March 9, 2017

Walk On The Mild Side

Behold, your next rig-- Lt. Dan! This time we've got legs and feet. . . and an optional tail. This time, we're doing walk and run cycles. Oh yes. Click here to download the Lieutenant Dan rig.

Lt. Dan and the bouncing ball rig were designed and built by Matt Ornstein! Props to him, I say!

Here's a 5 minute Miles video introducing the Lt. Dan rig:

Here's the link to the youtube page, if the embed video is lame.

For Tuesday, see if you can get Lt. Dan to take two steps forward and make a cycle!


Plodding along...

Thursday, February 9, 2017

Project 3: Group Scene


Collaborate with your group to create a scene based on a location nearby.
Each team member will model and texture parts of the scene that will be be collected and assembled into a master scene. As you develop the scene, identify elements that may be duplicated and re-used to create a sense of scale and place.
We'll take a look at the master scenes, as well as your work for projects 1 & 2 on Tuesday, February 14.

Tuesday, January 17, 2017

Project 2: Textured scene

I. Project Overview


Using your newfound skills, model and texture a scene with textures. Keep the geometry simple! We'll cover UV mapping and materials as well as more advanced modeling techniques.

Here's the basic construction order:
1. Model - get the geometry set before you UV map. Changes in geometry will affect the UVs.
2. UV Map - prepare a UV map for each object. Export the UV map as a .png file.
3. Texture Painting. In Photoshop, open your exported UV map to use as a guide for painting your textures.
4. Surfacing - create Materials for your objects. Use your 2D texture maps to define the attributes of your materials (Color, Bump, Specularity, etc.).

Here're a few texture maps to get you started - click 'em to enlarge and download the high res versions. Put 'em in your project folder in the sourceimages folder.


II. Technique: Materials, UV Mapping, Texture Maps 

1. Overview of entire Maya to Photoshop to Maya process


2. Intro to Maya Materials


3. Intro to Maya UV Mapping and Texture Making


4. UV Editing Techniques: Split, Move, Sew, UV Shells


III. Example 1: UV Mapping and Texturing a Model

1. Concept and template drawn in PhotoShoppe (note proportions are different in final model):

2. Modeling in progress:
3. Wireframe finished:
4. UV mapping and textures:
5. Grind Date:

IV Example 2: Model, Texture, and Composite

 Reference Shot


Wireframe


3D shot with alpha channel
+
2D image in PhotoShoppe
=
Final composite image


Thursday, January 12, 2017

Project 1: Snowman and Environment

Create a snowman and an environment for it to inhabit. Capture 5 screen caps and post them to your blog by Thursday, January 19.


Fritz Lang's Metropolis (1927).  

How's about some Piranesi? From the Carceri (Prisons) c. 1745-50. 
These have been a big influence on just about everybody designing big, fantastical scenes with gigantic architectural scale.

BLOG
You are required to keep a blog for this course and post all of your lab projects there. If you're new to bloggin', I recommend blogger.com as it's free and easy to use. If you find a service that works better for you, however, by all means, go for it. Yes, you may use a blog you have started before this class, just make sure you label your posts clearly so I don't get cranky. Once you have your blog set up, post your name and your blog's URL as a comment to this post.

PHOTO
Take a photo of your self and post it in the "about me" section of your blog.

DEMO MATERIALS:
Here is a 10 minute video to get you started with Maya